Invoices

Creating an Invoice
The act of creating an invoice involves the selection of a customer, and then associating one or more invoice items with that customer.
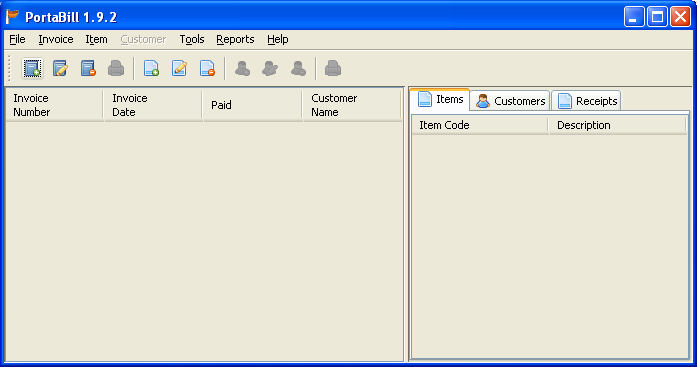
To start, you can use the “Add new invoice” button on the toolbar, or the appropriate menu item in the main PortaBill window ( ).
).
This will invoke the Invoice Details window.
Selecting a customer
Using this you can select a customer from the database (or add a new one via the “<add new…>” item ( ) in the drop down).
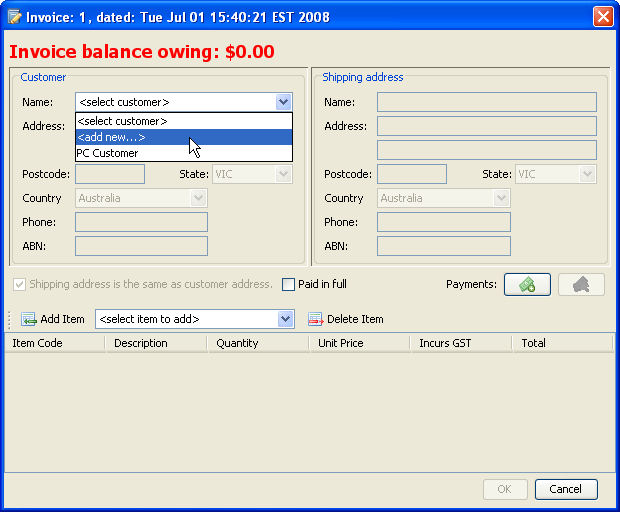
By default, the shipping address for an invoice is the same as the address of the selected customer. Should you need to specify a different shipping address, you can do so by deselecting the “Shipping address is the same as customer address” checkbox. This will then enable the shipping address details (with a copy of the customer details), and allow you to edit them as required.
Adding invoice items
An invoice must have at least one invoice item. To add one, you can select one from the Invoice Item database, or you can add a new invoice item via the “<add new…>” item in the drop down.
When you enter the details of the invoice item, you will have the opportunity to alter the unit price of the item (e.g. in case you have a special).  By default, PortaBill expects all items to attract sales tax, so the “Incurs sales tax” checkbox will be selected.
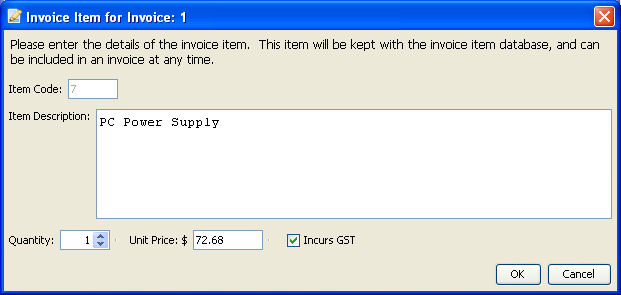
If you are entering a new invoice item into the database here, you will also see another checkbox, “Price includes sales tax”. Selecting this allows you to specify the tax-inclusive unit price.
Paid-in-full
An invoice can be marked as being paid in full. This is basically a feature of convenience that allows you to quickly see, in the main PortaBill window which invoices still have amounts outstanding.
There are two ways to mark an invoice as paid-in-full:
-
•One is simply the act of ticking the checkbox in the invoice details window.
-
•The other is by entering in one or more payments against the invoice (see Recording Payments against an invoice), where those payment(s) total up to the full amount of the invoice.
Once an invoice has been marked as paid-in-full, it can no longer be edited.
Issuing the invoice
Once you have selected a customer, and added any invoice items, you can print the invoice. This is done from the main PortaBill window., so you must click on OK to save the invoice to the database before you can print it.
Doing so (in a licensed copy of PortaBill) will invoke the web browser for the computer with the invoice displayed. You are then able to print the invoice to any configured printer.
Recording Payments against an invoice
In addition to the ability to create invoices, PortaBill also allows you to record payments against an invoice, thus allowing you to track which invoices have amounts owing.
To record a payment against an invoice select the appropriate invoice in the main PortaBill window and open it via the toolbar, menu or a double-click.
Within the Invoice Details window, you will see a label “Payments”. Next to this are two buttons.
The  button allows you to add a new payment to the invoice. This is only enabled if the invoice is valid, and hasn’t been marked as paid-in-full.
The  button allows you to view any payments that have already been recorded for the invoice.
Adding a payment is as easy as clicking on the  button. This will invoke the Payment amount dialog (
 ) where you are asked to enter the amount being paid. The maximum you can enter will be the amount currently owing on the invoice.
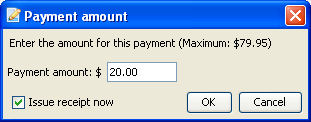
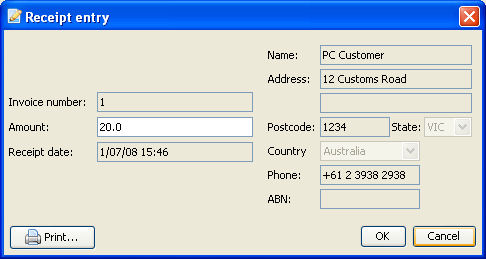
When you enter a payment, it is possible to issue a receipt for the payment ( ). This can be done at the same time you enter the payment, or it can be done later (via the view payments (
 ) button in the invoice).